
  |
| Previous page | Techniques & KB Articles | Next page |
| Setting a Favicon | ||
Setting a Favicon
Create your ico file (it can have any name, so long as it has the .ico extension)
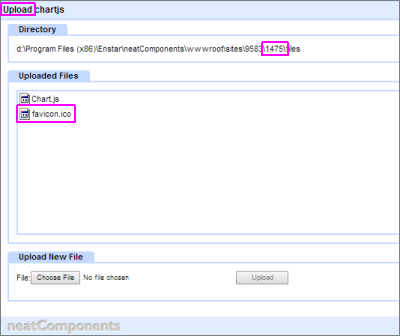
Add an Upload component to the site, and use it to upload the ico file to the site (If you already have an Upload component in your site you can use that).
Note the Page-number of the Upload component. (This is the final number noted in the Directory section of the Upload component) In the above example it is 1475 In the Behavior Editor, Settings, Scripts, <head> start, place the following: <link rel="shortcut icon" href="../1475/files/favicon.ico" /> replacing 1475 with your Upload page number, and favion.ico with the actual name of the uploaded file if it is different.
Inheritance Note that this method allows you to have different favicons for each page. However, if you want the same one throughout the site, use the Behavior Editor on the Layout Manager's website tree globe node (the top item in the tree), and the setting will inherit down the rest of the site.
|

|
